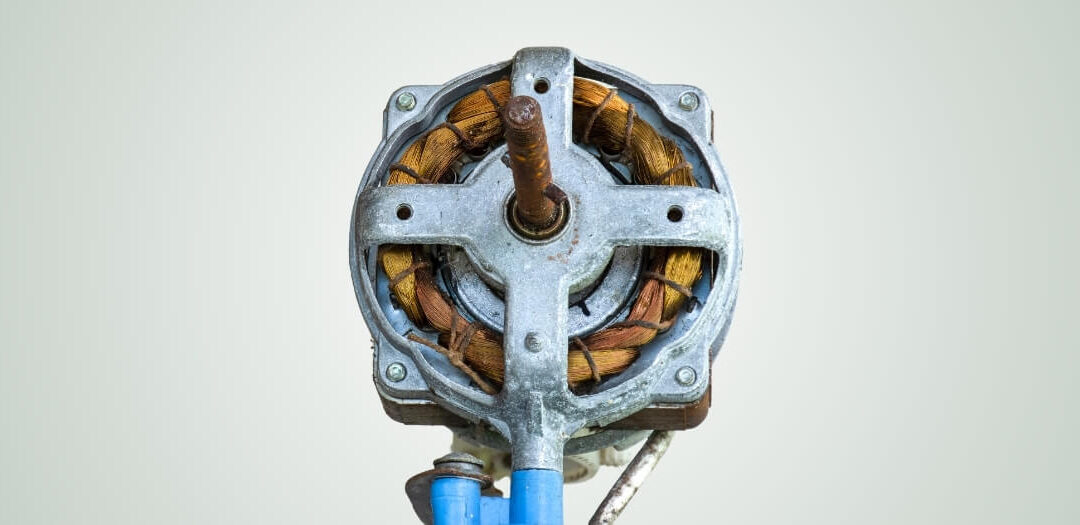
Looking for how to clean electric fan motor? Learn how cleaning your electric fan motor may have a profound effect. Electric fan motors require routine maintenance to ensure long-term reliability and smooth functioning. Cleaning the motor removes dust, enhancing efficiency and preventing potential malfunctions. In this guide, unlock the essential steps and power-packed techniques required to clean your electric fan motor thoroughly. Let’s delve into the art of maintaining and revitalizing how to clean electric fan motor for unparalleled performance!
Preparation Before How to Clean Electric Fan Motor
Here’s a detailed explanation for the preparation before cleaning an electric fan motor:
Safety Precautions: Unplugging the Fan
Before starting the cleaning process, prioritize safety by unplugging the electric fan from the power source. It is essential to follow this step in order to prevent any electrical accidents or mishaps when cleaning. Ensuring the fan is disconnected from the power supply eliminates the risk of electrical shock and safeguards against potential injuries. Take care to handle the fan gently and with caution after unplugging to prepare it for cleaning.
Gathering Necessary Cleaning Supplies
Preparing the necessary cleaning supplies is essential for a thorough and effective cleaning session. Some common cleaning supplies you might need include a screwdriver (if required for disassembly), a soft-bristled brush or vacuum cleaner with a brush attachment to remove dust and debris, a damp cloth or sponge with mild soap for wiping fan components, and lubricating oil if the motor requires lubrication. Having these supplies at hand streamlines the cleaning process and ensures you have everything needed to clean the electric fan motor meticulously.
Steps for Cleaning Electric Fan Motors
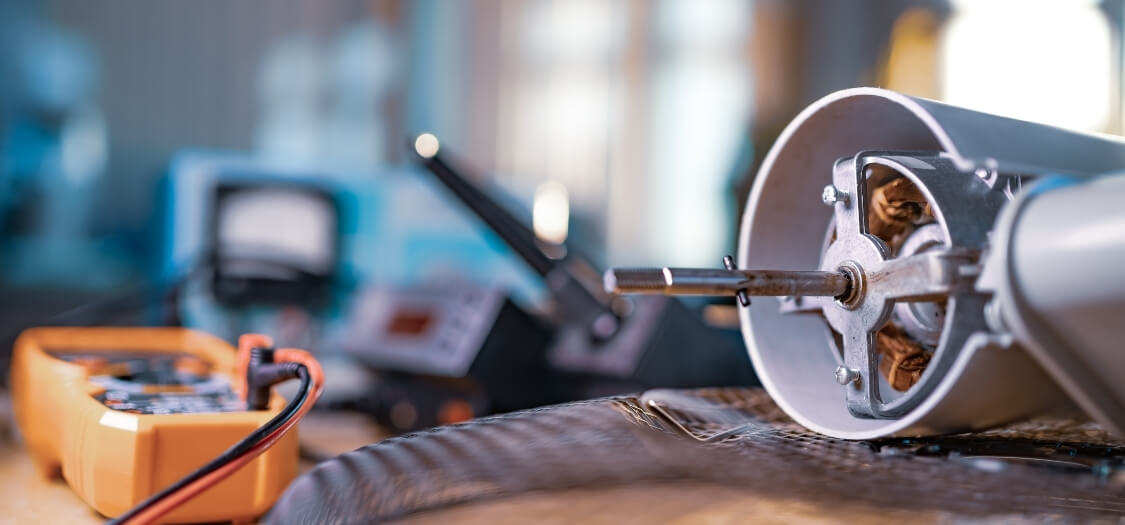
Here’s a detailed explanation of the steps for how to clean electric fan motor:
Removing the Fan Cover or Grille
Begin by carefully removing the fan cover or grille. This step usually involves unscrewing or unclipping the cover, depending on the fan model. Remove the lid securely using the right instruments, such as a screwdriver. Regarding the correct removal of the fan, follow any special directions that come with the handbook.
Dusting and Vacuuming Fan Components
After removing the cover, carefully clean the fan components by using a soft-bristled brush or a vacuum with a brush attachment to remove any remaining dust or dirt. Focus especially on the motor, surrounding regions, and blades. Dusting and vacuuming help eliminate accumulated dirt, ensuring optimal airflow and preventing strain on the motor.
Cleaning Motor Casing and Blades
After dusting, use a damp cloth or sponge with mild soap to clean the motor casing and fan blades thoroughly. Wipe the surfaces gently to remove any remaining dirt or grime. Take care not to use excessive water or liquid that could seep into the motor or electrical components, which may cause damage.
Lubricating Moving Parts (if applicable)
If your electric fan motor has accessible moving parts that require lubrication, such as the motor shaft, use an appropriate lubricating oil as recommended by the manufacturer. Apply a few drops of the lubricant, as directed by the manufacturer, to the appropriate places. Proper lubrication helps reduce friction, ensuring smooth operation of the moving parts.
Safety Measures During Cleaning
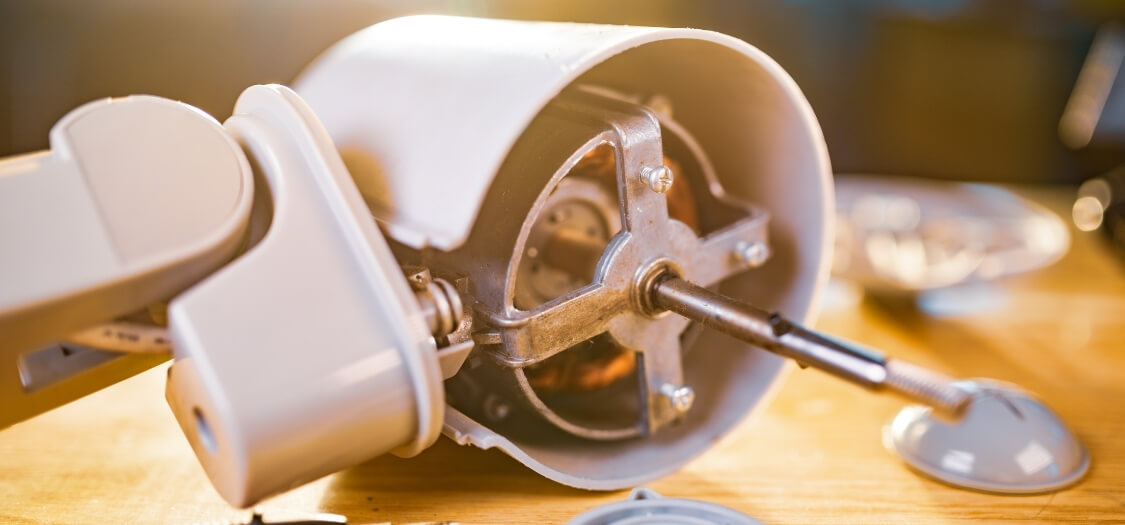
Adhering some safety precautions while how to clean electric fan motor helps maintain a safe environment and safeguards the motor and electrical components from potential damage, ensuring a smooth and secure cleaning process. Here’s a detailed explanation of safety measures to observe during cleaning of an electric fan motor:
Avoiding Moisture Exposure
While cleaning the electric fan motor, it’s crucial to avoid exposing the motor and electrical components to moisture. Moisture can cause damage to the motor, electrical connections, or other components, leading to malfunctions or electrical hazards. Therefore, ensure that the cleaning cloth or sponge used for wiping the fan components is only slightly damp and not excessively wet. Additionally, refrain from spraying water directly onto the fan or motor to prevent moisture from penetrating into sensitive parts.
Handling Electrical Components with Caution
When handling electrical components during the cleaning process, prioritize caution to prevent any electrical accidents. To avoid the risk of electric shock, always make sure the fan is fully removed from the power source before cleaning. Avoid touching electrical connections or exposed wires with wet hands or using metallic objects near live electrical parts to prevent accidents or short circuits. Exercise care and follow safety guidelines provided by the manufacturer to handle electrical components during the cleaning process.
Observing these safety measures, such as avoiding moisture exposure and handling electrical components cautiously, helps ensure a safe cleaning process while protecting the fan’s motor and electrical parts from potential damage or hazards.
Reassembling and Testing the Fan
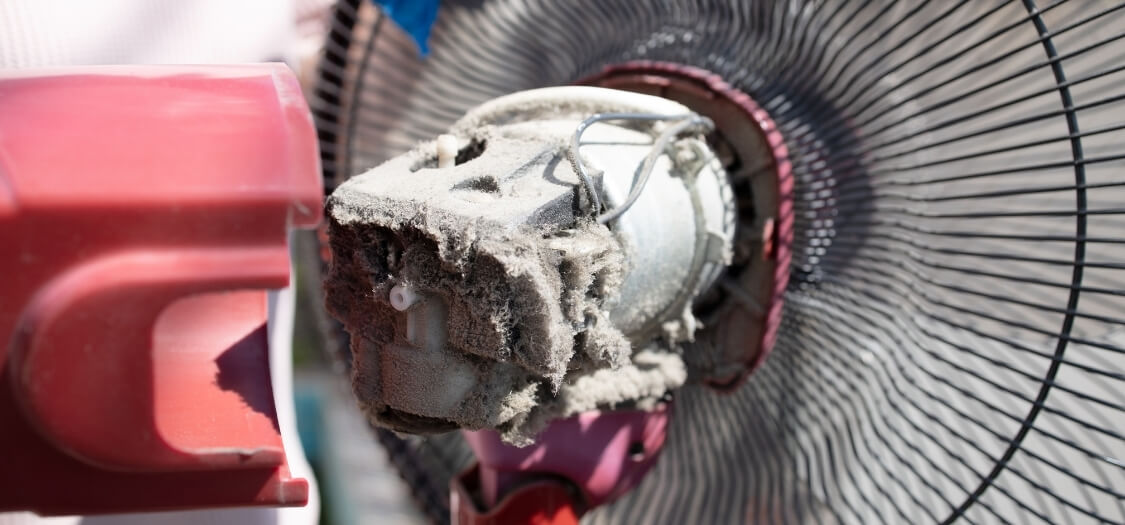
Here’s a detailed guide on reassembling and testing the fan after cleaning:
Properly Reattaching the Cover or Grille
After cleaning the fan components, it’s essential to reassemble the fan correctly by reattaching the cover or grille. Make sure the cover and fan housing are perfectly aligned, then use screws or clips to fix it firmly. Follow the manufacturer’s instructions precisely for reassembly to avoid any misalignments or loose fittings, which could affect the fan’s performance or safety.
Testing the Fan to Ensure Proper Operation
Once the fan is reassembled, plug it back into the power source and turn it on to test its operation. Observe the fan’s blades to confirm they are rotating smoothly without any unusual noises or wobbling. Check the various speed settings, if available, to ensure they function correctly. Additionally, assess the airflow to confirm that the fan is generating the expected breeze effectively.
By reattaching the cover or grille properly and testing the fan for proper operation, you can ensure that the fan functions efficiently and safely after the cleaning process.
Additional Tips for Maintaining Electric Fan Motors
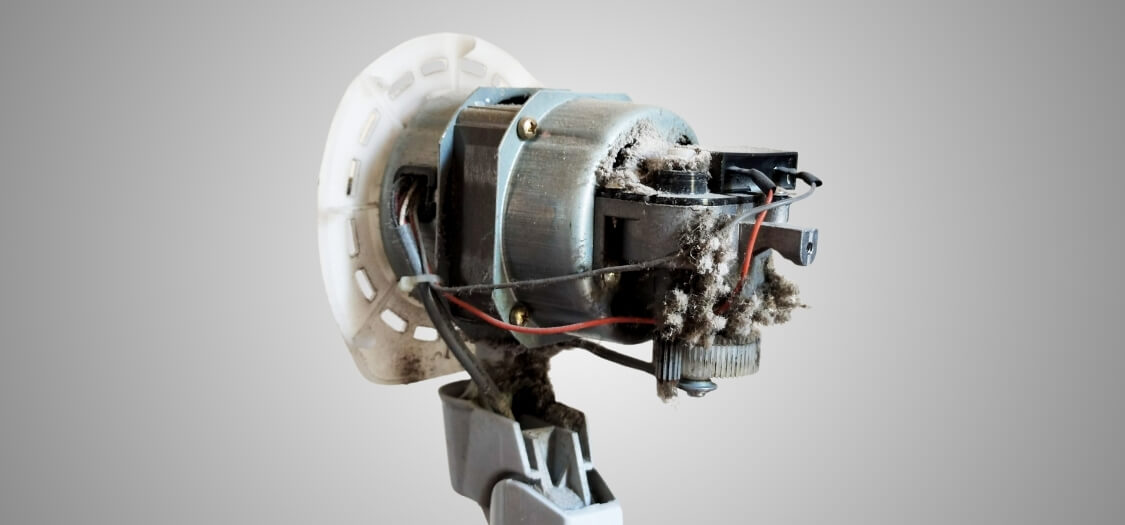
Here are some additional tips for maintaining electric fan motors:
Regular Cleaning Schedule:
To avoid excessive dust accumulation, schedule regular cleanings for your electric fan. Aim to clean the fan blades, motor housing, and other components at least every few months, depending on the environment’s dustiness. Consistent cleaning helps maintain optimal airflow and prevents dust from accumulating, reducing strain on the motor.
Inspection and Tightening:
See if there are any screws, nuts, or bolts that are loose on the fan from time to time. Vibrations during operation can sometimes cause these components to loosen over time, affecting the fan’s stability and performance. Tighten any loose parts using appropriate tools to ensure the fan remains secure and operates smoothly.
Proper Placement:
Place the fan in an optimal location to ensure efficient operation. Avoid placing it in dusty or humid areas, as this can accelerate dust buildup or moisture exposure, potentially affecting the motor’s performance. In order to allow for enough airflow and circulation, make sure there is adequate space surrounding the fan.
Lubrication Maintenance:
If your fan’s motor requires lubrication, adhere to the manufacturer’s recommendations for the lubrication schedule. Problems with motors might arise from over-lubrication or the use of an inappropriate lubricant. Adhere to the manufacturer’s instructions to guarantee appropriate upkeep without creating harm.
Professional Servicing:
Consider periodic professional servicing for your electric fan, especially if you notice any unusual noises, vibrations, or decreased performance. To ensure maximum fan performance and lifetime, professional technicians may carry out in-depth inspections, solve any underlying issues, and undertake maintenance chores beyond routine cleaning.
Conclusion
In conclusion, mastering the art of how to clean electric fan motor is pivotal for sustained performance and durability. By adhering to a systematic cleaning regimen and employing safety measures, you ensure optimal functionality and efficiency. Implementing these cleaning techniques not only revitalizes your fan’s performance but also prolongs its lifespan. Embrace these steps, maintain consistency, and revel in the refreshing breeze of a well-maintained electric fan motor!
Frequently Asked Questions
Q1: How to clean electric fan motor Perfectly?
Answer: To clean an electric fan motor perfectly, start by unplugging the fan and removing its cover. Dust the components with a brush or vacuum, then wipe them gently using a damp cloth. Reassemble the fan carefully, ensuring all parts are secured, and test its operation to guarantee optimal cleaning.
Q2: How often should I clean my electric fan motor?
Answer: It’s recommended to clean your electric fan motor every few months to prevent dust buildup and maintain optimal performance. Adjust the frequency based on the environment’s dustiness.
Q3: What cleaning supplies do I need to clean an electric fan motor?
Answer: Prepare soft-bristled brushes, a vacuum cleaner with a brush attachment, a damp cloth or sponge with mild soap, and lubricating oil (if necessary) to clean the fan components effectively.
Q4: How do I ensure safety while cleaning the electric fan motor?
Answer: To avoid electrical mishaps, put safety first by disconnecting the fan before cleaning. Avoid moisture exposure and handle electrical components with caution during the cleaning process.
Q5: Can I use water to clean my electric fan motor?
Answer: If you want to clean, use a sponge or cloth that is gently dampened with mild soap. Avoid excessive moisture or direct water contact with the motor or electrical parts to prevent damage.
Q6: What additional maintenance tips can help prolong the fan motor's lifespan?
Answer: Regularly inspect and tighten loose parts, place the fan in a dust-free environment, adhere to lubrication schedules, and consider professional servicing for optimal maintenance.

