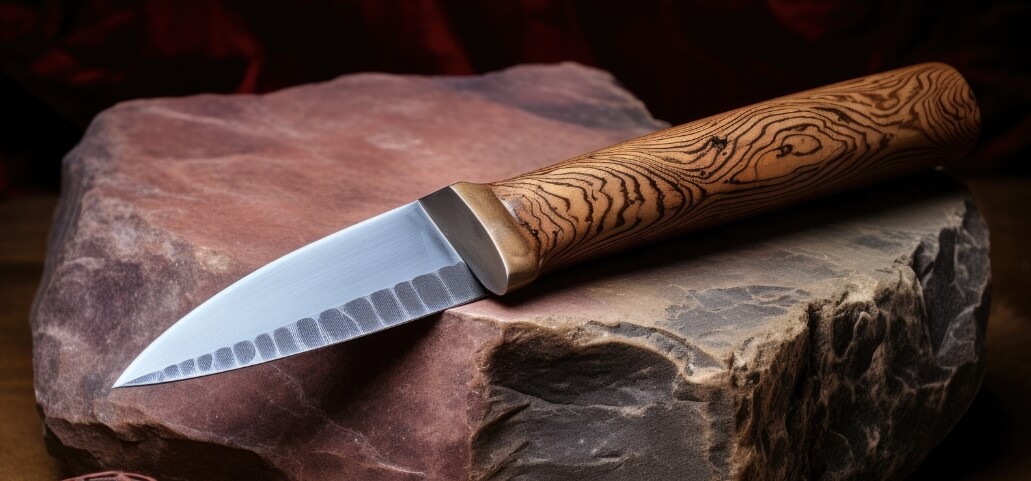
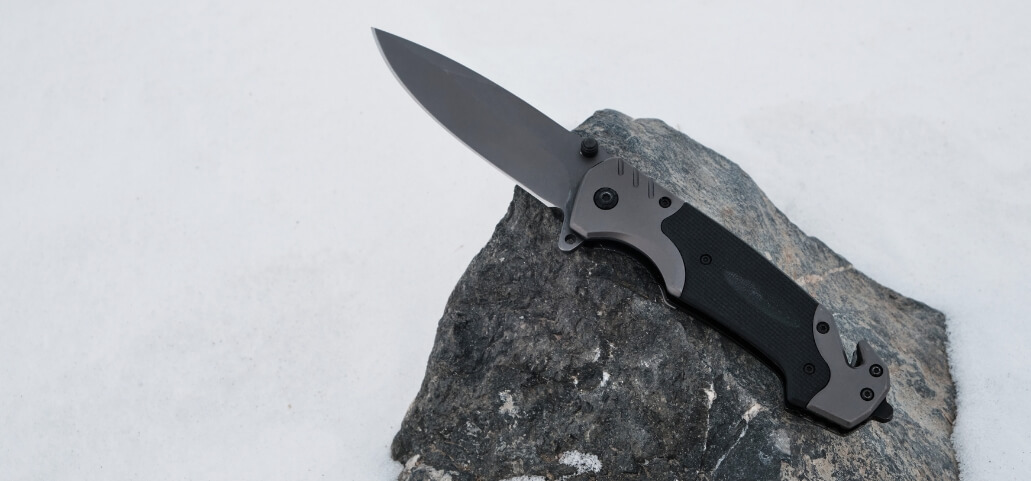
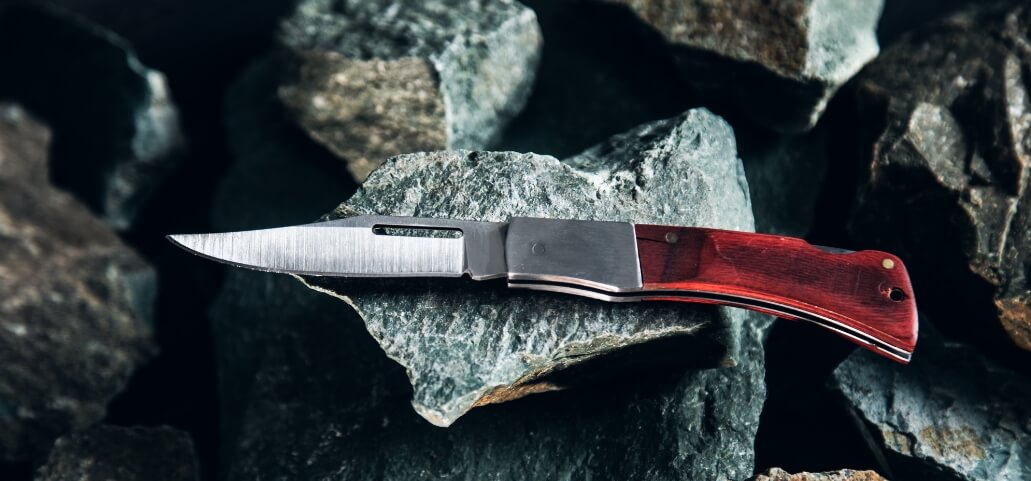
Knowing how to sharpen knives with a stone is crucial for efficiency and safety. Whether you’re a home chef or a culinary enthusiast, mastering knife sharpening with a stone enhances your cooking experience. This guide covers essential techniques, emphasizing that sharp knives make cutting tasks faster, and safer, and improve dish quality. Sharpening at home saves money, boosts kitchen skills, and offers the satisfaction of maintaining your tools independently. So let’s dive in and explore how to sharpen knives with a stone.
Understanding Knife Sharpening Stones
Before we begin sharpening, it’s essential to understand our tools. Knife sharpening stones, also known as whetstones, are blocks made of varying materials that sharpen dull knife blades through the process of abrasion. These materials can include natural stones like Novaculite or synthetic ones like aluminum oxide and silicon carbide. The grit of a stone is a measure of how gritty or fine its surface is. Coarse grits (1000-3000) are used for repairing damaged knives and setting new edges while finer grits (4000-8000) are used for polishing and refining the edge.
Preparing for Sharpening Knive
Before beginning, ensure you have all the necessary materials organized in front of you:
- Knife sharpening stone
- Lubricant (water or oil)
- Towel or cloth
- Honing guide (optional)
Safety Precautions to Take:
- It is imperative that you consistently don protective gear, such as goggles and gloves.
- Be careful when handling sharp knives and stones to avoid accidents.
- Maintain a stable and comfortable posture while sharpening to prevent strain or injuries.
- For their own protection, keep kids away from the workspace.
Step-by-Step Guide to How to Sharpen Knives with a Stone

Now that we have everything we need, including some safety gear, let’s have a look at how to sharpen knives using a stone:
Step 1: Soak or Lubricate the Stone
For water stones, soak them in water for about 10-15 minutes until they stop releasing air bubbles. This ensures that the stone is fully saturated, which helps to prevent it from drying out too quickly during sharpening. Before using oil stones, lightly coat the surface with honing oil. The oil serves as a lubricant, helping the blade glide smoothly over the stone and preventing metal particles from clogging the stone’s pores.
Step 2: Positioning the Stone
Place the stone on a stable, non-slip surface. You can use a wet towel or a specialized base to keep it steady. Stability is crucial to ensure consistent pressure during sharpening, which is essential for achieving an even edge. If the stone moves during the process, it could lead to an uneven or damaged blade.
Step 3: Finding the Right Angle
Maintaining the correct sharpening angle is critical. Knife types dictate the typical angle, which may be anything from fifteen to twenty degrees. For example, kitchen knives often require a 15-degree angle, while outdoor or hunting knives might need around 20 degrees. Holding the knife at the right angle ensures an even and sharp edge. Using an angle guide can help maintain consistency, especially for beginners.
Step 4: Sharpening the Knife
Hold the knife firmly with one hand while the other guides it. Use either the pushing and pulling method or the circular motion method. Apply constant pressure and keep the angle constant all the way through. It is common practice to sharpen a knife by moving the heel of the hand towards the blade’s tip. It’s important to count your strokes to ensure equal sharpening on both sides of the blade.
Step 5: Checking Your Progress
Periodically inspect the knife edge to monitor your progress. Perform a sharpness test by slicing through paper or gently running your thumb across the edge (with caution). Check that the edge of the blade is straight and clear of burrs all the way through. Keep sharpening the knife and checking it from time to time if it isn’t sharp enough.
Step 6: Flipping the Knife
After you’ve sharpened one side of the blade, flip it over and do it again. Consistency is key to achieving an evenly sharp edge. Make sure to use the same number of strokes and pressure to maintain balance. Sharpen both sides until they are equally sharp and smooth.
Step 7: Polishing the Edge
Remove any burrs and polish the edge using stones with finer grit. This step refines the blade, giving it a smooth, sharp finish. Polishing improves the cutting efficiency and longevity of the blade. Carefully work your way up to finer grits, erasing the scratches caused by each step as you go.
Step 8: Cleaning and Maintenance
Clean the knife and the stone thoroughly after sharpening. To wash away any traces of metal, use gentle soap and warm water. If you want to keep the stone from becoming worn down too soon, keep it in a dry spot. Proper maintenance of both the knife and the stone will extend their lifespan and keep them performing at their best. Regularly honing your knife between sharpening sessions can also help maintain its sharp edge.
Tips for Effective Sharpening Knives with a Stone

- Start with coarse grit stones and work your way up to finer ones for better results.
- Keep the right angle and apply constant pressure when sharpening.
- Take breaks between sharpening to avoid overheating the blade or stone.
- Remember to flip the knife and use equal strokes on both sides for balance.
- Prevent rust and corrosion by always cleaning and drying your instruments after use.
Troubleshooting Common Issues
- Uneven angle: Ensure your body position is stable and double-check that you are not altering the sharpening angle unintentionally. Consistent angle maintenance is crucial for a uniform edge.
- Inconsistent pressure: Focus on applying even pressure during the sharpening process. Practicing this technique will help you avoid an uneven edge and ensure a sharp, consistent blade.
- Overheating the blade or stone: Overheating can damage both the blade and the sharpening stone. Take frequent breaks during the process and consider using a lubricant, such as honing oil or water, to minimize friction and heat buildup.
- Dull spots on the edge: Dull spots can occur if one side of the blade is neglected. Be sure to flip the knife regularly and use equal strokes on both sides to maintain balance and achieve a uniformly sharp edge.
How to Sharpen a Knife with a Stone: Tips for Beginners
It takes time and effort to get the hang of using a sharpening stone on a knife, but eventually you’ll get the hang of it. Here are some detailed tips for beginners to get started:
- Start with a cheaper or older knife: Before moving on to more expensive or favorite knives, use a less valuable one to practice. This will help you get a feel for the technique without the risk of damaging a costly blade.
- Take your time: Keep the pressure and angle constant all the way through. Rushing can lead to mistakes and uneven sharpening, so it’s important to be methodical and patient.
- Use an angle guide: If you’re unsure about the correct sharpening angle, consider using an angle guide or marking the desired angle on the blade with a marker. This visual aid will help you keep the angle steady until you become more comfortable with the process.
- Lubricate the stone: To keep the stone from becoming too stiff, lubricate it with water or oil, as the case may be. A more pleasant sharpening experience is guaranteed as a result of less friction and the prevention of metal particles from fouling the stone.
- Check your progress: Periodically check the blade’s edge by gently running your thumb across it (not along it) to feel for sharpness or burrs. This will help you gauge whether you need to continue sharpening or if the edge is sufficiently sharp.
- Don’t be discouraged: Achieving a sharp edge may take several attempts, especially when you’re just starting out. Remember, sharpening is a skill that requires practice and patience. Over time, you’ll develop a better technique and gain confidence in your ability.
Conclusion
Sharpening knives with a stone is an essential skill for any kitchen or outdoor enthusiast. With proper techniques, tools, and maintenance, you can keep your knives sharp and performing at their best. Remember to take your time, be patient, and practice regularly to master this skill. So go ahead and sharpen those dull blades for a smoother, more efficient cutting experience! Be sure to check out our other guides on knife care and maintenance for even more tips and tricks. Happy sharpening!
Frequently Asked Questions
Q1: How to sharpen knives with a stone for the first time?
Answer: Start by selecting the appropriate stone grit for your knife. Soak the stone in water or apply honing oil, depending on the type. Find the ideal angle for honing the stone and set it on a steady surface. Hold the knife firmly and apply consistent pressure, sharpening from heel to tip. Make sure both sides of the knife are sharp by turning it over and doing the same thing again. Finally, polish the edge with finer grits, and clean and dry your tools after use.
Q2. Can I use a sharpening stone on all types of knives?
Answer: Yes, you can use a sharpening stone on all types of knives, but the technique and angle may vary depending on the knife type and steel. For example, Japanese knives typically require a different angle compared to Western knives, and softer steels may need gentler strokes.
Q3. What should I do if my stone becomes uneven?
Answer: If your sharpening stone becomes uneven, you should flatten it using a flattening stone or sandpaper to restore its even surface. This step ensures that your knives are sharpened uniformly and prevents any damage that might come from an uneven surface.
Q4. Are electric sharpeners better than sharpening stones?
Answer: Electric sharpeners are faster and more convenient, making them a good option for quick touch-ups. However, they may not provide the same level of precision and control as a sharpening stone, which allows for more customized sharpening tailored to the specific needs of each knife.
Q5. How can I tell if my knife is sharp enough?
Answer: To determine if your knife is sharp enough, perform a sharpness test by slicing through a piece of paper or gently running your thumb across the edge (with caution). A sharp knife should glide through the paper effortlessly and feel smooth but not overly aggressive to the touch.
Disclaimer: Please use caution and follow safety measures when sharpening knives. You should not rely on this guide as a replacement for expert guidance; it is just meant for informative reasons. Always refer to the manufacturer’s instructions and recommended techniques for specific knives, as different types of knives may require different methods of sharpening.
Personal Experience: As a professional chef, I have sharpened my fair share of knives using different methods. However, sharpening with a stone remains my preferred method as it allows for more precision and control over the sharpness level of each knife. With regular practice, I have become more confident in my ability to maintain razor-sharp edges on all my knives. So don’t be afraid to give it a try – you might just surprise yourself! Remember, practice makes perfect.
Why Trust Our Content?
Here at CRAFTED CHRONICLE, we love nothing more than passing on what we’ve learned to others. Our content is thoroughly researched, written by industry experts, and reviewed by professionals to ensure accuracy and reliability. We strive to provide helpful and informative guides that readers can trust to improve their skills and knowledge in various areas of interest.

